Miniature Tack

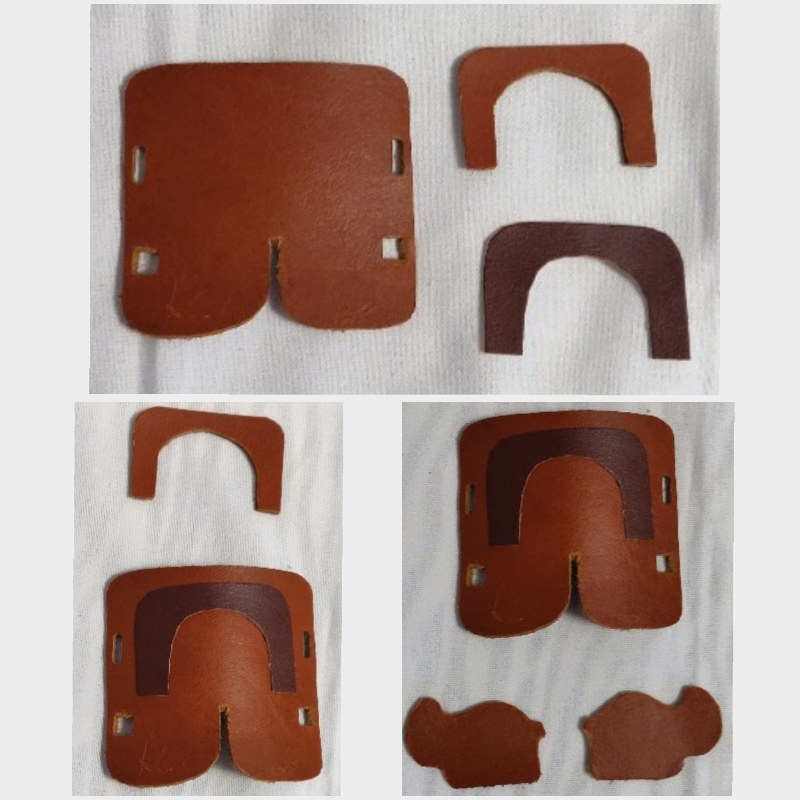
I am documenting here an experiment in using adhesive leather repair patches for parts of saddle making. For those pieces that typically have to be glued solidly on, it just might work. Or not.


Ready, set, go: I laid out the lower and upper saddle skirts I'd cut out from a scrap of tooling leather I was trying to use up. Then I cut out a second upper skirt from the faux leather repair patch, just to see how it would look.

frankensaddle

At this point, only the upper skirt is done with an adhesive piece. Looking at the original seat side panels I have, I think I'm going to also replace those with the patch material, as well as the cantle and the saddle seat. Will it all work? I'll find out!


Ready for the next steps: creating the pommel, then attaching that, the stirrup fenders, and finally the seat side pieces. Only the fenders are from the same leather as the lower skirt; for the other pieces I'm using the adhesive patch. I do have a few nice resin-cast western saddle trees and pommels, and it was an easy decision NOT to use them on a wholly experimental project. ;-) Using a strip of the repair patch for the pommel worked nicely, especially for folding it over since it sticks to itself!

frankensaddle progress May 28, 2022

I thought long and hard about using just the adhesive side panels to hold the fenders in place. It made me a bit too uneasy, so I wound up doing a couple of simple stitches at the top of each fender for peace of mind. I feel better now, even if I find stitching leather about as enjoyable as accidentally pulling a really long hangnail.


Side panels are in place. The thin adhesive material is holding very well, BUT revealing a drawback: it's so thin, and lays so flat, the fenders and pommel base are clearly outlined underneath. One problem is the leather for the fenders is way too thick. I knew this; all the original pieces I cut for this saddle came from the same scrap of tooling leather that was too thick to begin with (did I mention this saddle originally started as purely a practice exercise to use up some 'trash' leather?). Thinner pieces would definitely improve things, though they'd probably show through to some degree no matter what. The repair patch is after all designed to lay very flush and snug, and the entire back side of it is *adhesive*. If I lose my mind and do another saddle down the line, I'll use leather more to scale. Meanwhile, I do have an idea or two about working around - or over - the bumps in this road. Hey, this is a Frankensaddle, so anything goes!

frankensaddle stage two

At least it's starting to resemble a saddle, however vaguely. :-)


Copyright © 2008-2024 Red Oak Ranch/redoakranchmodelhorses.com. All rights reserved. Unauthorized use of owner's original content is prohibited.


Home
Model Horses...? Indoor Photos Out door Photos Props DIY Projects Show Ring